


Printing Information for
Seal Labels


For printing, all colours are converted to CMYK values. We strive to find the closest possible match to Pantone colours, for example, but slight variations may occur. Ideally, you should work in CMYK from the start.
To ensure that your graphics (images, text, etc.) do not appear blurry or pixelated, we recommend working with a resolution of at least 300 dpi.
Our printing machines require the print file exactly as we have set it up to avoid misalignments or other deviations in the print.
- Do not change the artboard (dimensions, format, etc.) under any circumstances.
- Do not export the PDF; instead, simply press "Save" (Windows: "CTRL+S", Apple: "CMD+S").
- Do not add bleed or similar.
- Do not change anything on the elements that are part of the "Cutting Die" and "Cut Line" layers.
The cut line indicates where the printing machine should cut the seal labels. Without it, this process will not work, so files where the "Cut Line" layer has been removed or altered cannot be used.
Printing machines work with various layers of ink that, when mixed together, produce all the colours you want to see on your label. The individual layers consist of Cyan, Magenta, Yellow, and Black (commonly referred to as "CMYK," which comes from the English spelling). If too much ink is applied from all colours, the print becomes too wet and smudges, leading to poor results.
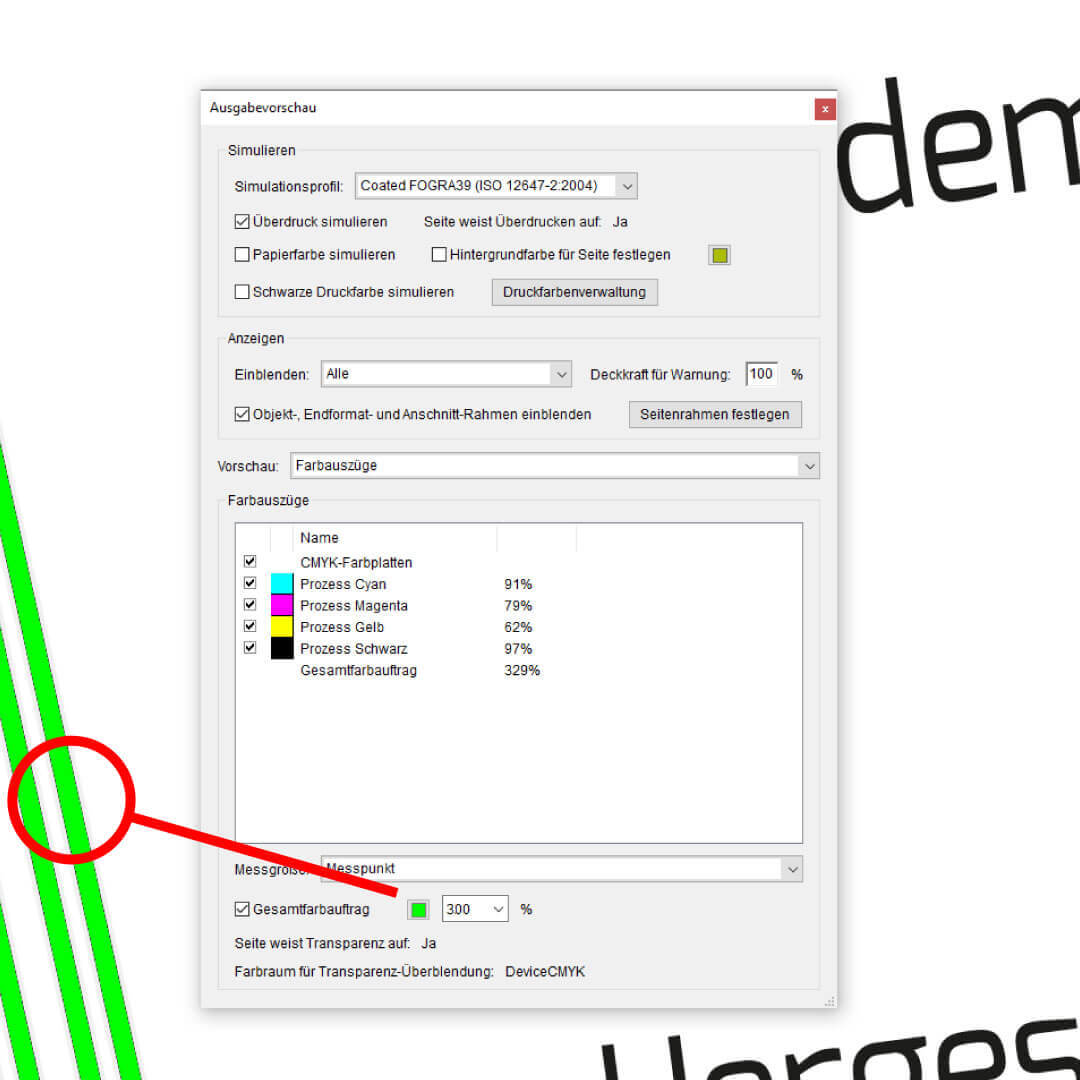
Therefore, it is important that the total ink coverage does not exceed 300%. It is best to check the ink coverage of your final print file with Adobe Acrobat Pro ("All Tools" → "Use Print Production" → "Output Preview") or another tool of your choice.
To avoid any issues with your fonts, please convert all text to outlines before the final export (In Adobe Illustrator, for example, you can do this by selecting all text and pressing the key combination "CTRL+SHIFT+O" (Apple: "CMD+SHIFT+O")).
► Warning: Once text is converted to outlines, it can no longer be edited, so only convert fonts once you have finished your design.
Our printing machines use the standard format PDF, which is established in the printing industry. This guarantees a consistent appearance, regardless of the programme or operating system.
► Please do not add crop marks or any other marks intended for printing, as our template already handles this.
In our printing template, you will find various layers that we have named according to their intended purpose. Please place your graphics, text, and images only in the "Artwork" layer - only elements from this layer will be printed in the final output!
The ISO 12647-2 colour standard should be present and selected by default in all current programmes. If you have a different colour profile set, change it for the export of your final file to ensure that the colours are correctly represented in print.
When creating your graphic, please ensure that all lines are at least 0.25 pt wide. This also applies to individual strokes within letters. Anything set too thin may result in poor print quality.
In printing, slight shifts can always occur because the large printing machines process the material at high speed. To ensure that no unsightly edges appear in the visible area, it is highly recommended that all backgrounds (images, colours, etc.) extend beyond the marked cut line ("Trim Size").
Your customers should be able to read and see what you have to say and show. Therefore, it is important that nothing gets cut off or lost in the print. Place all important elements, such as your text, logos, or important graphics, only within the safe zone.
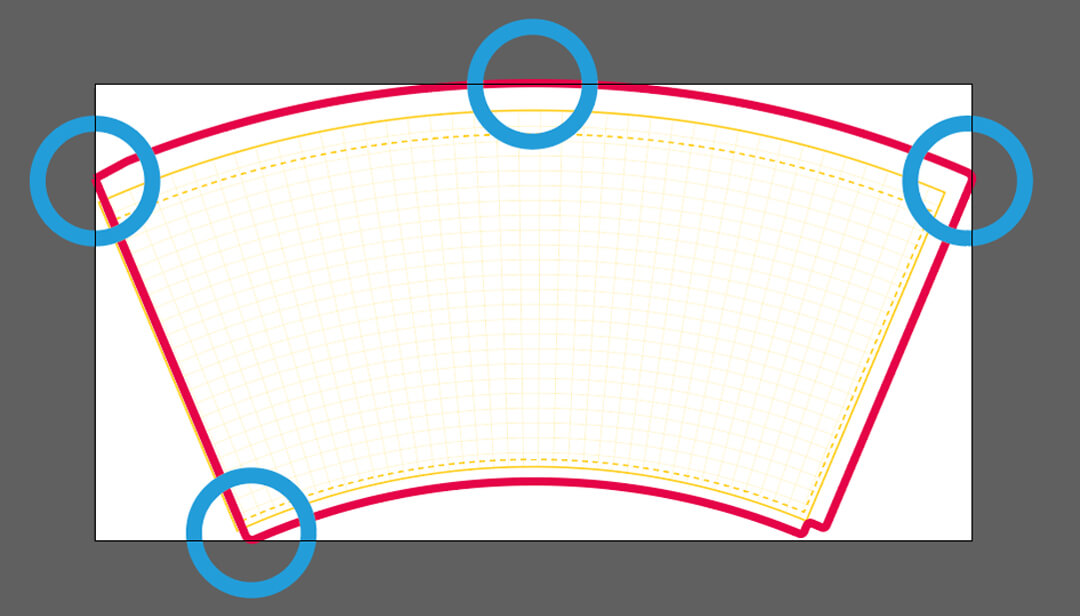
The layer labelled "Cutting Die" in our printing template contains our printing marks that are intended to assist you in designing. Once you are finished with your design, please remember to hide or delete this layer so that your final print file only contains the "Cut Line" and "Artwork" layers with your design elements.
Our printing templates are intended to help you proceed optimally with your design so that your label looks exactly as you envision it.
- The pink line is the cut line ("Trim Size"): This is where the printing machines will cut.
- The green line is the data format: Only place backgrounds and other elements here that can be cut off.
- The dashed green line marks the safe zone: Graphics, text, and other elements that should not be cut must be placed within this area.
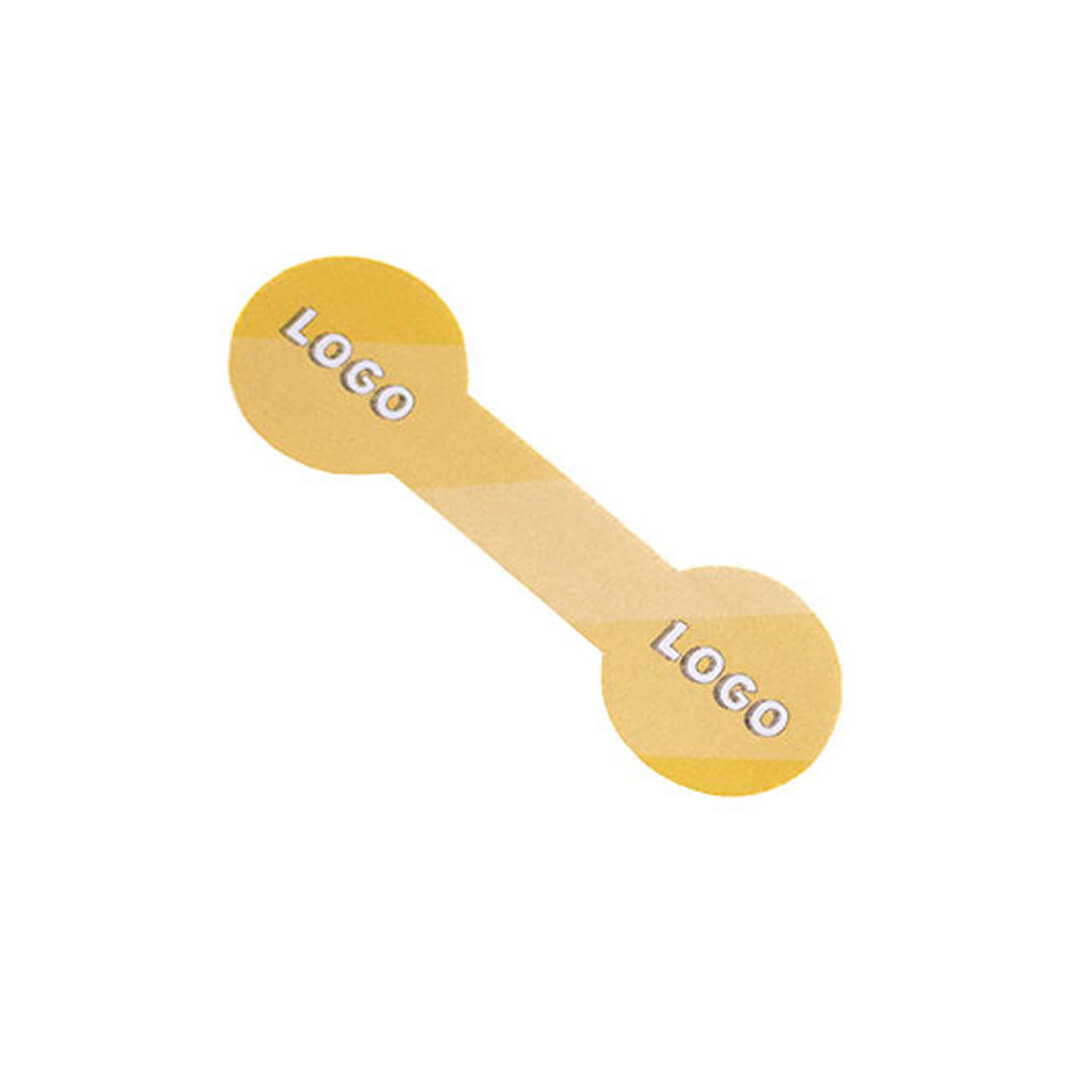
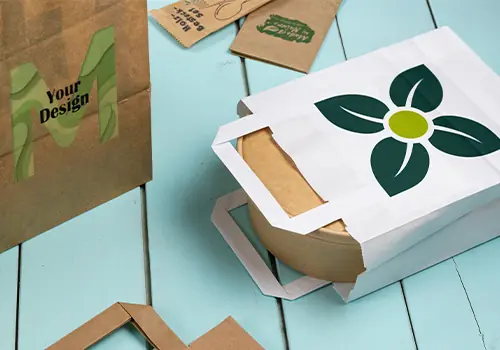
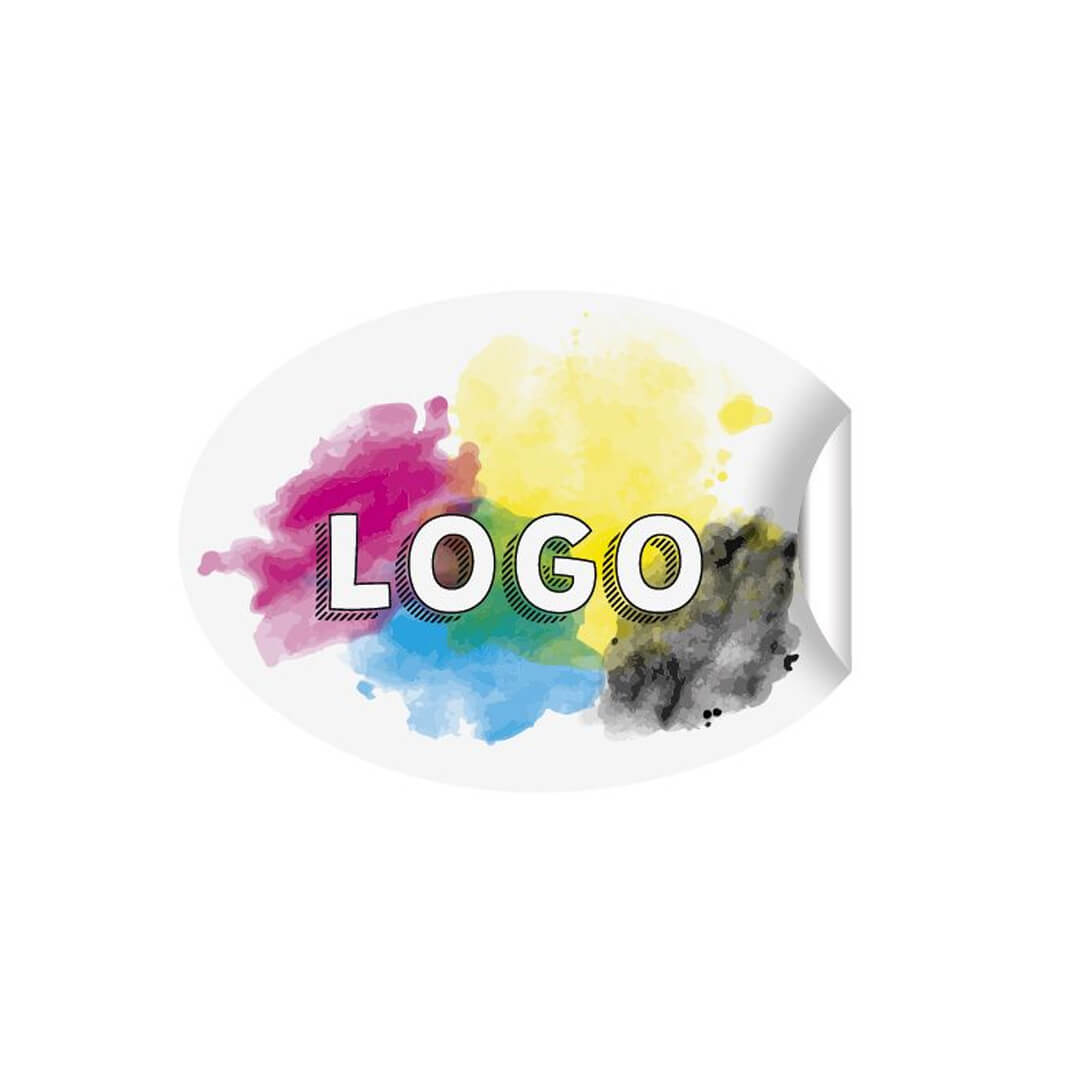
We are happy to print seal labels for you in one of two typical sizes.
Your logo as advertising space or a QR code for a promotion – the possibilities are only limited by your creativity!
Are you active on social media? Feel free to tag us in pictures of your finished seal labels: @GreenBox_packaging.
We look forward to your posts! 😊
Alternatively, we also offer standard seal labels. You can find the printing information for these here.
We also offer various industry-standard sizes. Simply choose the appropriate label, download the printing template, and start designing!
Whether it's simple with your logo, colourful designs for a child-friendly look, or informative text... The sky is the limit, as they say in English.
Frequently Asked Questions & Issues
A common source of errors is altering the cutting die or data format. Please ensure that the dimensions are not changed when opening the cutting die. The best way to open the file is in an illustration programme like Adobe Illustrator.
When saving, make sure that no additional bleed is added. This would change the size of the artboard again, preventing the label from being printed.
You can recognise a correctly set up cutting die by the fact that the template always reaches at least one point on each of the four sides up to the edge. However, the "Technical Layer" should be removed or hidden from the document afterwards.
For our seal labels, the maximum ink coverage is 300%. You can check the ink coverage of your PDF print file in Adobe Acrobat Pro under: "All Tools" → "Use Print Production" → "Output Preview". To do this, simply set the percentage to 300 under "Total Area Coverage," and all areas in the document that exceed this value will be highlighted in bright green (if you use a lot of green in your design and it is not clear, you can also change the colour next to "Total Area Coverage" to mark areas with excessive ink coverage).
This often occurs when graphics and images are converted from the RGB to the CMYK colour space, especially black areas often exceed the guideline.
No. Although we would love to, unfortunately, our capacities are limited. For this reason, we currently do not offer design services or assistance.